10 Practical Ways to Use Images with a Transparent Background
An image with a transparent background is just the subject: a product, a person, a logo, with nothing behind it. That sounds like a small thing, but it's what lets one image sit naturally on a website header, a T-shirt, a slide and a banner without a white box around it each time.
Below is a quick explanation of how transparency works, followed by ten practical ways to use it.
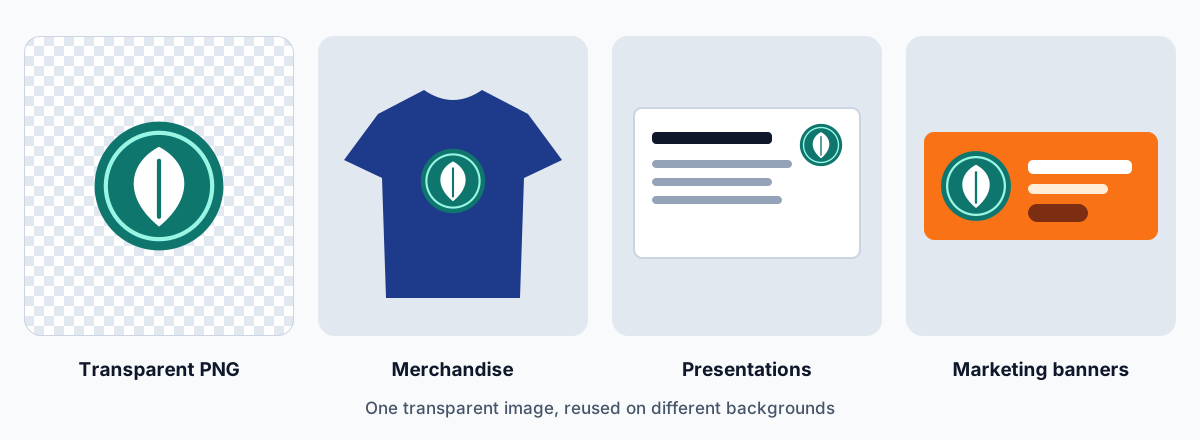
What "transparent background" actually means
Besides its colour, each pixel in some image formats also stores how see-through it is. That extra information is called the alpha channel. A fully transparent pixel shows whatever is behind the image, and a partly transparent one lets it show through a little. Partly transparent pixels are what make soft edges and hair look natural.
A few things worth knowing:
- PNG is the most widely supported format for transparent images, which is why background removers, including ClearCut, give you a PNG.
- JPG can't store transparency. Save a cut-out as JPG and the transparent areas are filled in, usually with white or black.
- WebP supports transparency too, and files are often smaller, but not every app accepts it. Our format comparison explains the differences, and the Image Converter switches between them.
- The checkerboard you see in editing apps isn't part of the image. It's how apps show you where the image is transparent.
10 ways to use transparent images
1. Product listings and online stores
Cut-outs let you put every product on the same background, so a category page looks like one collection. The same PNG can then go on a white background for a marketplace, a light grey for your own site and a seasonal colour for a sale banner. There's more on this in our product photo editing tips.
2. Logos and brand assets
A logo with a transparent background works on light and dark backgrounds, photos and coloured blocks. It's also the version printers and web designers will ask you for. It's worth keeping a transparent PNG of your logo alongside the original files your designer supplied.
3. Social media posts and stories
Place a cut-out product on a brand colour, put a person next to a headline, or layer several cut-outs into one graphic. The subject can be repositioned for square posts, portrait posts and 9:16 stories without reshooting. Check our social media image sizes for each format.
4. Marketing materials
Flyers, email headers, web banners and trade-show graphics often use the same product image in different layouts. A single transparent PNG saves recreating it for each one.
5. Presentations and teaching materials
Images with a white box around them look awkward on a coloured slide template. Transparent images sit on the slide like they belong there. The same goes for worksheets, posters and infographics.
6. Games and app interfaces
Game sprites, character art, icons and interface elements are almost always transparent images, so they can move over changing backgrounds. For prototypes and small projects, cutting a subject out of a photo is a quick way to get placeholder art.
7. Merchandise and print-on-demand
T-shirts, mugs, stickers and tote bags all need artwork without a background. Otherwise, the rectangle gets printed too. For print, start with a high-resolution image, because details that look fine on screen can print soft at larger sizes. Also check how the edges look on the actual product colour.
8. Video overlays and thumbnails
Video thumbnails often combine a person cut out from a frame with bold text and a coloured background. Cut-outs are also used as overlays and lower-thirds in video editing software.
9. Room mock-ups and interior design
Designers place cut-out furniture, lamps and decor into photos of a room to show clients options before anything is bought. It doesn't replace a proper 3D visualisation, but it's a fast way to compare ideas on a mood board.
10. Invitations and event materials
Wedding invitations, party signs and event programmes can include cut-out photos of people, venues or objects, layered over patterned or coloured designs.
Tips for working with transparent images
- Start from a good photo. Removing the background can't add detail that isn't there. Our guide to AI background removal covers what makes a photo easy to cut out.
- Check on light and dark backgrounds. A thin halo of the old background colour is easy to miss on white but obvious on black, or the other way round.
- Keep your originals. Store the untouched photo next to the cut-out, in case you need to redo it later.
- Watch file sizes. PNGs of photos can be large. If the final design has a solid background, you can export it as a JPG. For the web, the Image Compressor can save a transparent PNG as a smaller WebP.
- Build a small library. Keep cut-outs you reuse, such as products, logos and team photos, in one organised folder.
Tools for creating transparent images
Online and AI-based
- ClearCut: free online background removal.
- Remove.bg: a popular background removal service.
- Canva and Adobe Express: design tools that include background removal.
Desktop and design software
- Adobe Photoshop: detailed selections and masking.
- GIMP: free desktop editor.
- Figma and Sketch: layout tools for placing transparent images into designs.
On your phone
- Snapseed, Lightroom Mobile and Canva: editing and layout on the go. See our mobile editing workflow.
Have a photo in mind? Remove its background with ClearCut, then try it on a couple of different backgrounds. If you're not sure which colour to use, our background colour guide can help.