AI Background Removal: How It Works and How to Get Clean Results
Cutting a subject out of a photo used to mean ten minutes with a pen tool, or much longer if the subject had hair. AI background removal does most of that work in one step: you give it an image, and it gives you the subject on a transparent background.
It isn't magic, though. Knowing roughly how it works tells you which photos will come out cleanly, which ones will struggle, and what to check before you use the result. This guide covers all three.
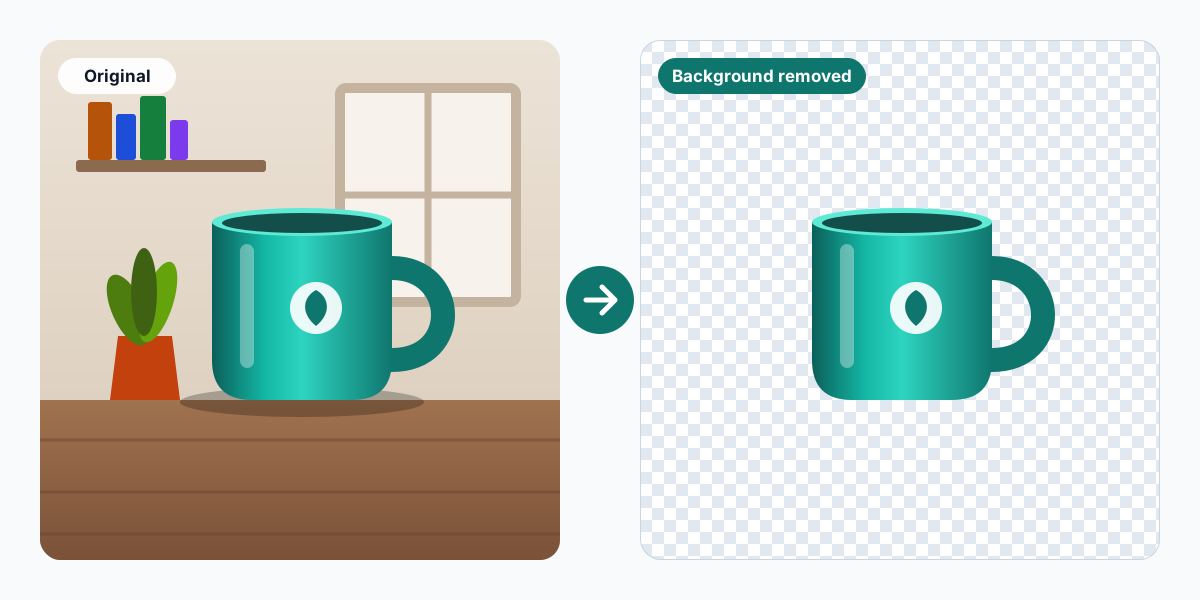
What AI background removal actually does
Behind the scenes, a background remover uses a type of model called an image segmentation model. It has been trained on a large number of photos where people have marked which pixels belong to the subject. From that training, it learns to predict the same thing for new images.
The model's output is a mask: a greyscale map where white means "keep", black means "remove" and shades of grey mean "partly transparent". The mask is applied to your photo as its alpha (transparency) channel, and the result is saved as a PNG.
Those in-between grey values matter. They're what let a strand of hair or the soft edge of a shadow fade out gradually instead of ending in a hard, jagged line.
What happens when you use ClearCut
- You choose a JPG, PNG or WebP image up to 5 MB. Your browser checks the type and size.
- The image is uploaded to ClearCut's processing service, where the segmentation model creates the mask and removes the background.
- The result comes back to your browser, shown next to the original.
- You download it as a transparent PNG.
Because the work happens on a server, your image is uploaded while it's processed. The Privacy Policy explains how uploads are handled.
Photos that work well, and ones that don't
Good candidates
- Products shot on a plain backdrop. A bottle on a sheet of white card is about as easy as it gets.
- People photographed in good light. Especially when there's some distance between the person and the wall behind them.
- Pets, food, furniture and vehicles. Subjects with a clear outline and a different colour from their surroundings.
- Logos and graphics on a solid colour. These usually separate cleanly.
Harder cases
- Hair and fur. Individual strands are thinner than a pixel in many photos, so the model has to guess how transparent each edge pixel should be.
- Glass, water and other see-through objects. Should the background showing through a wine glass be removed? There's no single right answer, and results vary.
- Low contrast. A beige jumper against a beige sofa gives the model very little to go on.
- Busy backgrounds. Patterns, crowds and foliage that overlap the subject's edges cause mistakes.
- Blur and small subjects. Motion blur, missed focus and subjects that fill only a tiny part of the frame all lose edge detail.
How to prepare a photo for a cleaner cut-out
Most problems are easier to avoid when you take the photo than to fix afterwards.
- Create contrast. Shoot light objects against a darker background and dark objects against a lighter one.
- Use soft, even light. A window with a thin curtain, or an overcast day outside, avoids hard shadows that can look like part of the subject.
- Leave some space around the subject. Don't crop tight to the edges; anything outside the frame can't be recovered.
- Keep it sharp. Tap to focus on the subject, hold the camera steady, and use a timer or tripod for product shots.
- Upload a reasonable size. Around 1000 pixels or more on the longest side keeps enough detail for the edges. Very large files take longer to upload and must stay under 5 MB.
A quick example
Say you're photographing a white ceramic mug. Placed on a white kitchen counter, its rim and handle nearly disappear, and the cut-out will likely lose part of the handle. Put the same mug on a dark wooden board, and the outline is obvious. The second photo takes no longer to shoot, and it saves you editing time later.
Checking and fixing the result
Before you use a cut-out, zoom in and look at:
- Edges: is there a thin halo of the old background colour? This shows up most on dark backgrounds.
- Missing parts: thin handles, straps, cables and gaps between fingers are the usual suspects.
- Leftover background: small patches that were kept by mistake, often in enclosed gaps like the inside of a mug handle.
- Shadows: a removed contact shadow can make an object look like it's floating.
Small fixes are quick in any editor with an eraser and a brush on a layer mask. GIMP, Photopea and Photoshop all have one. If the product looks like it's floating, add a soft, low-opacity shadow underneath it on the new background.
Choosing a background removal tool
There are a few kinds of tools, and they suit different jobs:
- Online AI tools such as ClearCut and Remove.bg: upload an image and get a cut-out back, with no software to learn. Remove.bg offers free and paid tiers.
- Design platforms such as Canva, which include background removal as one feature among many. This is handy if you're building the whole graphic there anyway.
- Desktop editors such as Adobe Photoshop, whose Select Subject and Remove Background features give you the most control over the result, or GIMP for fully manual work.
For a single product photo or profile picture, an online tool is usually the quickest route. For a detailed composite or print work, you may want to start with an automatic cut-out and refine it in an editor.
Where cut-outs are useful
Once you have a transparent PNG, you can reuse it almost anywhere. You could put it on a white background for a product listing, on a brand colour for a banner, or in a video thumbnail or social post sized for each platform. There are more ideas in ten practical ways to use transparent images.
If you have a photo ready, you can remove its background with ClearCut and check the result against the points above.